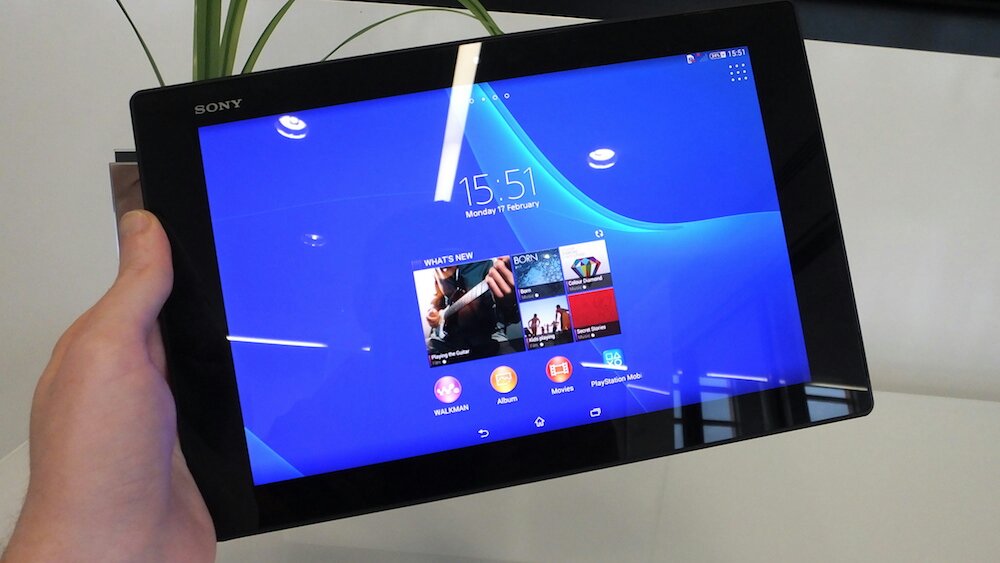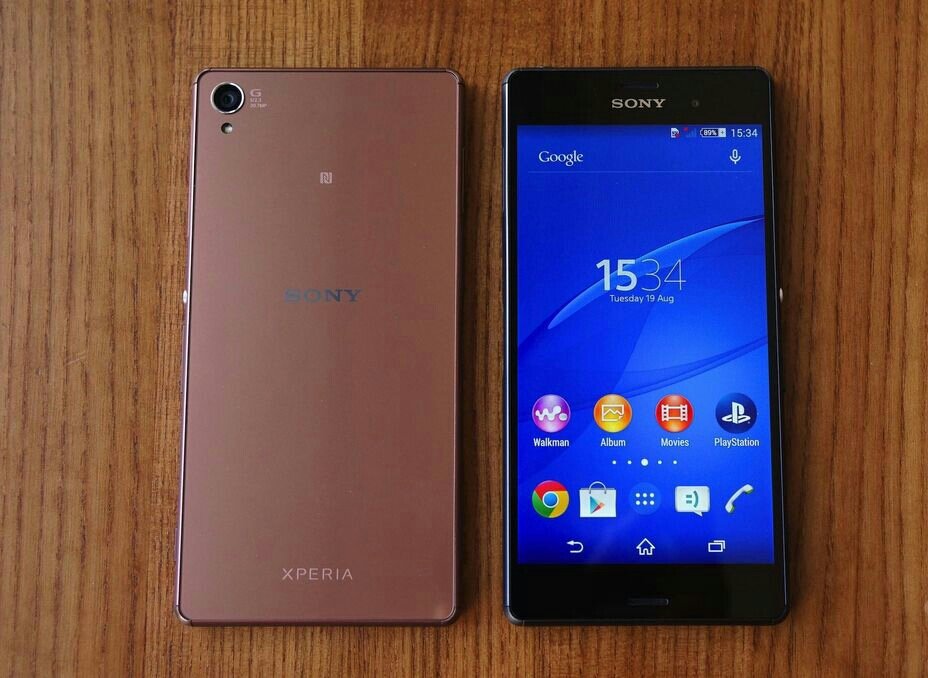
Xperia Z users no longer have to wait for the official Android 5.0 Lollipop update from Sony, as discerning Android custom ROM developers have already unleashed the latest Android 5.1.1 Lollipop update via Dirty Unicorns v9.3 ROM.
Here is the complete changelog for Android 5.1.1 based Dirty Unicorns v9.3 ROM:
•Update to Android 5.1.1
•Materialize DSPManager
•Fix SysUI FC for Themes with QS mods
•Change checkboxes to switches
•Remove Voice Dialer
•Fix for Play Services deep sleeping
•Fix various Theme Engine issues
•Add back notification LED settings backend
•Fix NavRing FC
•Expose values for our applications to be themed
•Hide lights settings if device doesn't support them
•Don't set preferred APN's automatically
•Fix battery and notification lights
Various translations
Interested users who want to get a glimpse of the Android 5.1.1 Lollipop update on their Xperia Z ahead of the official firmware release can go ahead and install the Dirty Unicorns Lollipop ROM on their device, using the step-by-step guide provided below.
÷Prequisites:
•The instructions given in this guide are meant for the international variant of Xperia Z only. Verify device model number by navigating to Settings > About Phone
•Ensure the phone has at least 80% battery charge to prevent unexpected device shutdown (due to battery drain) while installing the ROM
•Back up data and settings using a recommended custom recovery tool, like ClockworkMod (CWM) or TWRP, as it creates a complete image of the existing phone setup. In Recovery, choose Backup and Restore and tap Backup
•Verify correct USB drivers for the phone are installed on the computer (download Xperia Z USB drivers)
•Enable USB Debugging mode via Settings > Developer Options (if running Android 4.0 or above) or Settings > Applications > Development (if running Android 2.3 or earlier)
•Ensure that the device is rooted with CWM recovery installed and its bootloader is unlocked.

*Disclaimer:
Androidromfix provide various Firmware Updates and Rooting process along with Custom ROM,Modes,file are all belong to their owners/developers. The autor of this site or the developers are not responsible, if you damage or brick your device.Do it on your own risk and follow the instruction properly.
÷ How Install Android 5.1.1 Dirty Unicorns v9.3 custom ROM on Xperia Z
•Downloads Required
Android 5.1.1 Dirty Unicorns ROM for Xperia Z (aka Yuga)DU_yuga_5.1.1_20150427-0409.v9.3-OFFICIAL.zip and Gapps.
Step 1 - Download Android 5.1.1 Dirty Unicorns Lollipop ROM for Xperia Z on the computer.
Step 2 - Connect and mount the phone's USB mass storage on computer with the USB cable.
Step 3 - Now, copy the downloaded Dirty Unicorns zip file to the root folder on the phone's SD card.
Step 4 - Power off the phone and disconnect its USB cable from computer.
Step 5 - Now boot the device into Recovery Mode by tapping Volume up or Volume Down buttonswhen the phone's notification LED turns pink.
Step 6 - Once the phone enters into CWM Recovery, perform a full data wipe task by clickingWipe Data/Factory Reset. Use the Volume keys to navigate between options and the Power button to select an option in the Recovery Mode.
Step 7 - Then, perform Wipe Cache Partition and wait until the process completes.
Step 8 - Now perform Wipe Dalvik Cache as well. To do this, go to the 'advanced'option and then click Wipe Dalvik Cache. This will help in preventing boot loop issues or any boot ROM related errors during firmware installation.
Step 9 - Then return to the main recovery menu and choose Install Zip from SD card.
Step 10 - Now click Choose Zip from SD card. Use volume keys to navigate to the OmniROM zip file that you copied earlier to your phone's SD card and choose it by tapping the Power button. Confirm the ROM installation on the next screen and the installation process will begin.
Note: Repeat Step 9 and Step 10 to install Google Apps (Gapps) as well.
Step 11 - Once both the Gapps and ROM are installed, go to "+++++Go Back+++++" and select Reboot System Now in the Recovery menu.
The phone will now reboot and the first boot may take about five minutes to complete. So, please be patient.
Your Xperia Z is now running the latest Android 5.1.1 Lollipop update via Dirty Unicorns custom ROM. Go to Settings > About phone to verify the firmware version installed.