
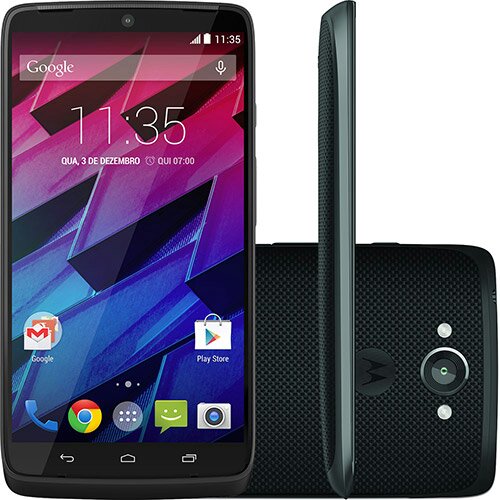
Moto Maxx (XT1225) users can now enjoy the custom Android 5.1 Lollipop experience on their smartphone and credit is due to the CyanogenMod team, which has recently rolled out the CyanogenMod 12 Nightly build for the handset sold in Latin America.
With Motorola's soak test starting a few weeks ago, it is almost certain that the company will be rolling out the new Lollipop update in the next few days.
Nevertheless, those who cannot wait for the official Lollipop OTA release on their Moto Maxx can go ahead and install the custom Lollipop update via CM12 Nightly ROM, using the step-by-step guide posted below.
÷ Pre-requisites
•The official CyanogenMod 11 ROM and the instructions given in this guide are meant for the Motorola Droid Razr (CDMA and GSM) models only. Verify device model number by navigating to Settings > About Phone.
•Back up data and settings using a recommended custom recovery tool, like ClockworkMod (CWM) or TWRP, as it creates a complete image of the existing phone setup. In Recovery, choose Backup and Restore and tap Backup.
•Verify correct USB drivers for the phone are installed on the computer (download Droid Maxx USB drivers).
•Ensure USB debugging mode is enabled on the phone, by navigating to Settings > Developer Options.
•Make sure the phone has at least 80% battery charge to prevent unexpected device shutdown (due to battery drain) while installing the ROM.
•Ensure the device is unlocked (not locked to a specific carrier) and rooted with the latest ClockworkMod (CWM) Recovery (v6.0.4.3 or later) or TWRP (v2.6.3.0 or later).
*Disclaimer:
Androidromfix provide various Firmware Updates and Rooting process along with Custom ROM,Modes,file are all belong to their owners/developers. The autor of this site or the developers are not responsible, if you damage or brick your device.Do it on your own risk and follow the instruction properly.
÷ Steps to install Android 5.1 Lollipop on Motorola Droid Maxx with official CyanogenMod 12 Nightly ROM
* Download Android 5.1 CyanogenMod 12 Nightly ROM and Gapps on your PC.
step-1: Download Android 5.1 Lollipop CM12 ROM for Motorola Droid Maxx to computer
Step-2: Download Google Apps package
Step-3: Connect the Droid Maxx to computer via USB cable. Without extracting, copy the downloaded firmware zip and Google Apps zip files to the root folder of the phone's SD card.
Step-4: Power off the phone and wait for 5 to 10 seconds until the device shuts down completely.
Step-5: Press and hold Volume Up, Volume Down and Power buttons together, until the Droid Maxx enters bootloader mode.
Step-6: In Bootloader mode, use Volume Down to navigate to Recovery option and Volume Up to select it. NOTE: In Recovery, use Volume keys to browse through options and Power key to select the desired option.
Step-7: Perform Wipe data/Factory reset (this will delete all apps and their settings and game progress) and choose Yes on next screen to confirm the action.
Step-8: Return to CWM recovery main menu and select Mounts and Storage > Format System and click Yes on next screen to confirm. Then perform Wipe Cache Partition. From the main menu of CWM recovery, go to Advanced and choose Wipe Dalvik Cache. Then hit Yes on next screen to confirm.
Step-9: Select Install Zip from sdcard and then click Choose zip from sdcard. Browse to the location of the CM12 firmware file which you copied earlier to your phone's SD card. Choose Yes on next screen to confirm the firmware installation.
Step-10: Repeat the previous step to install Google Apps as well.
Step-11: Once Google Apps is also installed, select "+++++Go Back+++++" and reboot the phone by tapping reboot system now from the recovery menu. Your Moto Maxx will restart and it may take about five minutes for the first boot. So, do not interrupt the process.
Your Motorola Droid Maxx is now running on Android 5.1 Lollipop via official CyanogenMod 12 Nightly ROM. Go to Settings > About Phone to verify the firmware installed.
